Two-Step Migration
Before you begin, map a drive letter or connect to a server where the postoffice resides. You need read/write permissions for the share or volume and the name and password of the postoffice.
 To migrate data in two steps
- From the Start menu, choose Programs, choose Microsoft Exchange, and then choose Microsoft Exchange Migration Wizard.

- Select Migrate from Lotus cc:Mail, and then choose Next.
- Read the informational screen, and then choose Next.
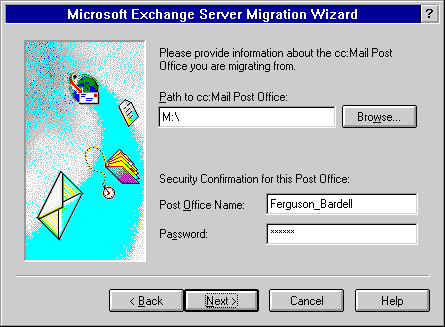
- Under Path to cc:Mail Post Office, type the path to the postoffice, or choose Browse to specify the path.
- In the Post Office Name box, type the name of the postoffice.
- In the Password box, type the password for this postoffice, and then choose Next.

- Select Extract Migration Files Only.
- Under Pathname for Migration Files, specify a valid location for temporary storage of the migration files, and then choose Next.
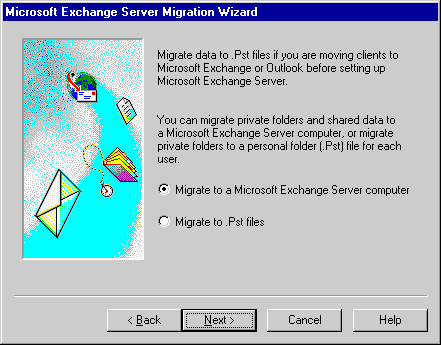
- Select whether to migrate data to a Microsoft Exchange Server computer or to personal folder (.pst) files, and then choose Next.
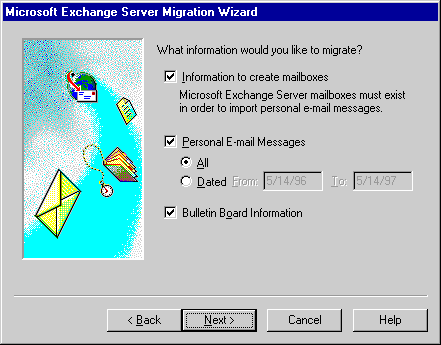
- Select the options you need.
| Option
| Description
|
|
Information to create mailboxes |
Creates mailboxes for the selected users. Clearing this check box imports messages to existing mailboxes or converts existing custom recipients to mailboxes. |
|
Personal E-mail Messages |
Copies all messages and folders from the mailboxes. You can select all or set a range. |
|
Bulletin Board Information |
Copies all public bulletin boards on the postoffice to the public information store. |
- Choose Next.
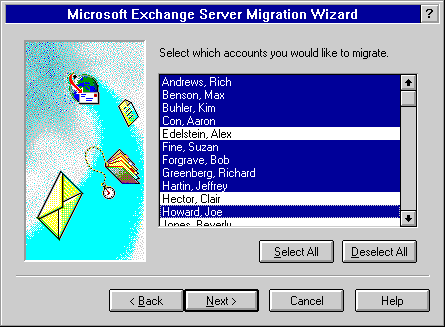
- Under Select which accounts you would like to migrate, select the mailboxes you want to migrate, or choose Select All to select all mailboxes.
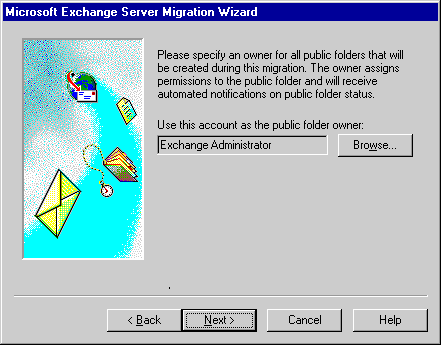
- If you migrated bulletin board information in step 10, specify the public folder owner for the bulletin boards you are migrating.
- Choose Next to begin the migration process.
You can then edit the migration files. For more information on migration file format and editing the primary files, see Chapter 2 and Appendix B. The edited migration files can be imported by following the procedures in Chapter 2.
 To migrate data in two steps
 To migrate data in two steps


