| Operations | << | >> |
|---|
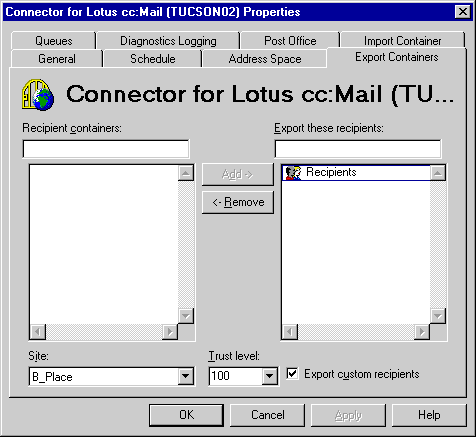
You use export containers to specify the Microsoft Exchange Server recipients that you want exported to the cc:Mail post office directory. Directory synchronization exports mailboxes, public folders, distribution lists, and custom recipients to the cc:Mail directory. The address names exported are the names generated by the cc:Mail e-mail address generator.

Use the Export Containers property page to specify containers for exporting directory information. You can also assign a trust level so that only recipients with a trust level equal to or less than the specified value are exported. By default, Microsoft Exchange Server does not export any recipient containers.
| Option | Description |
|---|---|
| Trust | The trust level set for the connection. Only recipients with a trust level equal to or lower than the trust level specified for the export container are exported during directory synchronization. Set the recipient's trust level in the recipient's Advanced property page. The default is 100. |
| Export custom recipients | When selected, the custom recipients in the export container will be exported to cc:Mail. This option is selected by default. |
You can remove an export container used by the Microsoft Exchange Server to stop the export of recipients in that container.