 To migrate data in two steps
| Migration | << | >> |
|---|
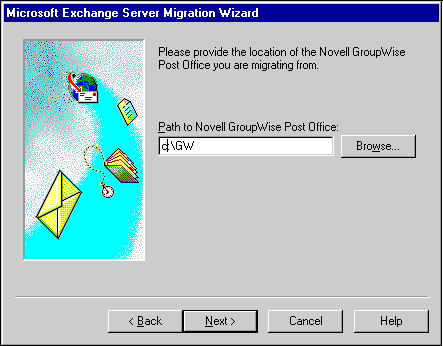
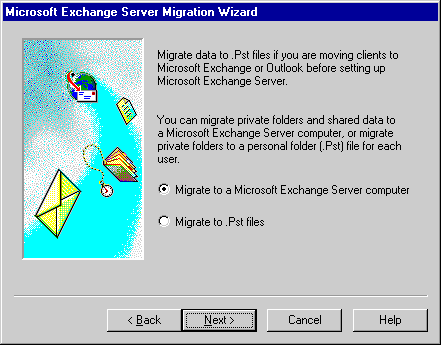
Follow this procedure to use the Migration Wizard to migrate data from a Novell GroupWise post office in two steps.
 To migrate data in two steps

| Option | Description |
|---|---|
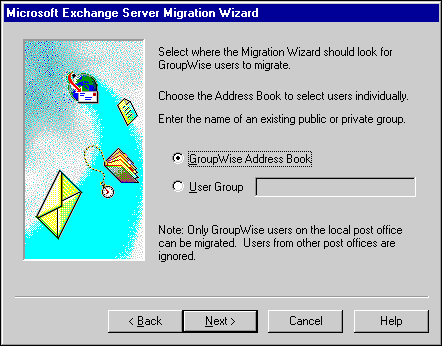
| GroupWise Address Book | Displays the GroupWise Address Book so that you can select individual users you want to migrate. |
| User Group | Type the name of a GroupWise public or private group that contains users you want to migrate. The group you choose must be accessible to the GroupWise account performing the migration. |
| Option | Description |
|---|---|
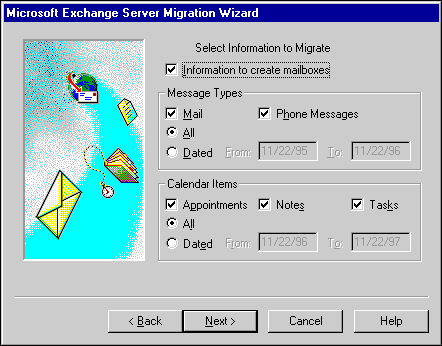
| Information to create mailboxes | Migrates the user's mailbox data. This information is used to create a mailbox for each migrated user in Microsoft Exchange Server. Clearing this check box imports messages to existing mailboxes or converts existing custom recipients to mailboxes. |
| Migrates all e-mail messages. | |
| Phone Messages | Migrates all phone messages. |
| All | Migrates all e-mail data. |
| Dated | Migrates all e-mail messages dated in the range specified. |
| Appointments | Migrates all appointments. |
| Notes | Migrates all notes. |
| Tasks | Migrates all tasks. |
| All | Migrates all calendar data. |
| Dated | Migrates all items dated in the range specified. |
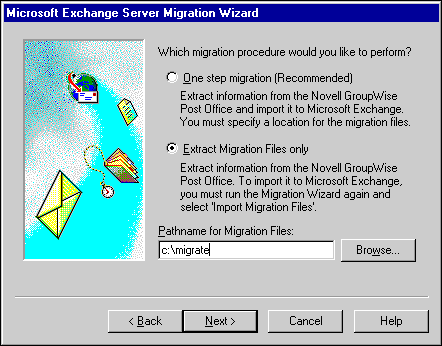
You can then edit the migration files. For more information about migration file format and editing the primary files, see Chapter 2, "Using the Migration Wizard" and Appendix B, "Creating a Source Extractor." You can import the edited migration files by following the procedures in Chapter 2.