 To migrate data in one step
| Migration | << | >> |
|---|
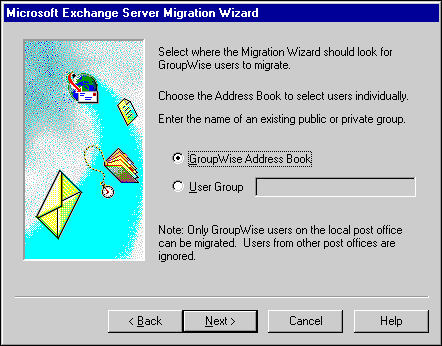
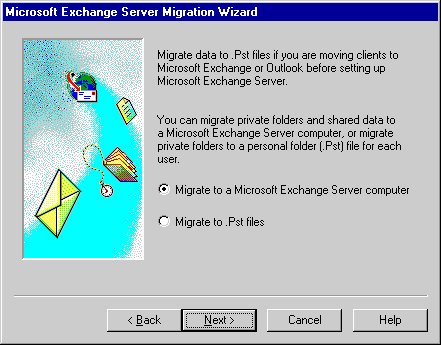
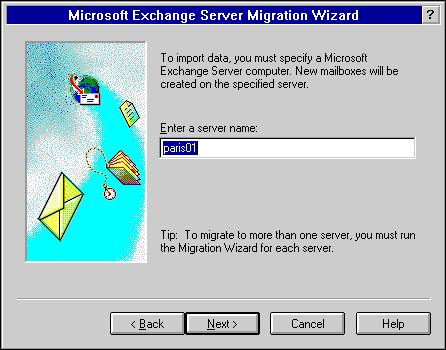
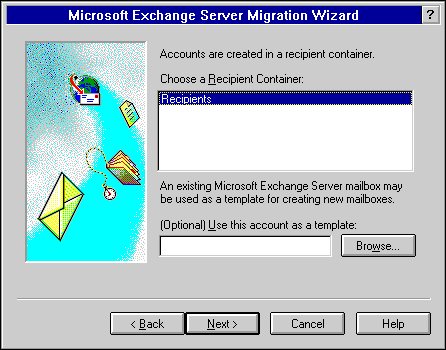
Follow this procedure to use the Migration Wizard to migrate data from a Novell GroupWise post office in one step.
To migrate data in one step


| Option | Description |
|---|---|
| GroupWise Address Book | Displays the GroupWise Address Book so that you can select individual users you want to migrate. |
| User Group | Type the name of a GroupWise public or private group that contains users you want to migrate. The group you choose must be accessible to the GroupWise account performing the migration. |


| Option | Description |
|---|---|
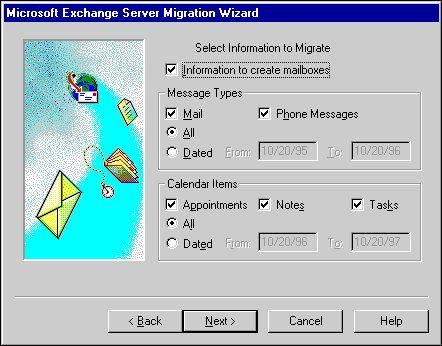
| Information to create mailboxes | Migrates the user's mailbox data. This information is used to create a mailbox for each migrated user in Microsoft Exchange Server. Clearing this check box imports messages to existing mailboxes or converts existing custom recipients to mailboxes. |
| Migrates all e-mail messages. | |
| Phone Messages | Migrates all phone messages. |
| All | Migrates all e-mail data. |
| Dated | Migrates all e-mail messages dated in the range specified. |
| Appointments | Migrates all appointments. |
| Notes | Migrates all notes. |
| Tasks | Migrates all tasks. |
| All | Migrates all calendar data. |
| Dated | Migrates all items dated in the range specified. |
| Option | Description |
|---|---|
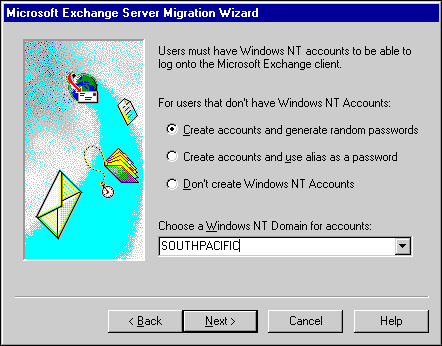
| Create accounts and generate random passwords | Accounts are created with names that match the common name of migrated accounts. Random passwords are also generated. The passwords are written to the Account.Password file in the working directory of the Migration Wizard. To make it possible for users to log on to Windows NT, you need to distribute these passwords. |
|
Create accounts and use alias as a password |
Accounts are created with names and passwords that match the common name. |
| Don't create Windows NT Accounts | If a Windows NT account that matches the common name of a mailbox does not exist, create the mailbox without an associated Windows NT account. No one can access this mailbox until a Windows NT account is associated with it. |
Note The Migration Wizard associates the Windows NT account, if one exists, in the specified domain that has the same name as the common name of a mailbox, no matter which option is selected.