Re: original owner 73
![]() by burdar » 26 Mar 2012 20:00
by burdar » 26 Mar 2012 20:00
-
burdar - Frequent Poster
- Posts: 429
- Joined: 24 Mar 2009 17:27
- Location: Iowa
Re: original owner 73
![]() by Hezzel » 29 Mar 2012 10:47
by Hezzel » 29 Mar 2012 10:47
-
Hezzel - Frequent Poster
- Posts: 125
- Joined: 22 Oct 2007 13:05
- Location: Sweden, Kiruna
Re: original owner 73
![]() by burdar » 02 Apr 2012 13:16
by burdar » 02 Apr 2012 13:16
-
burdar - Frequent Poster
- Posts: 429
- Joined: 24 Mar 2009 17:27
- Location: Iowa
Re: original owner 73
![]() by burdar » 16 Apr 2012 17:30
by burdar » 16 Apr 2012 17:30
-
burdar - Frequent Poster
- Posts: 429
- Joined: 24 Mar 2009 17:27
- Location: Iowa
Re: original owner 73
![]() by burdar » 23 Apr 2012 13:44
by burdar » 23 Apr 2012 13:44
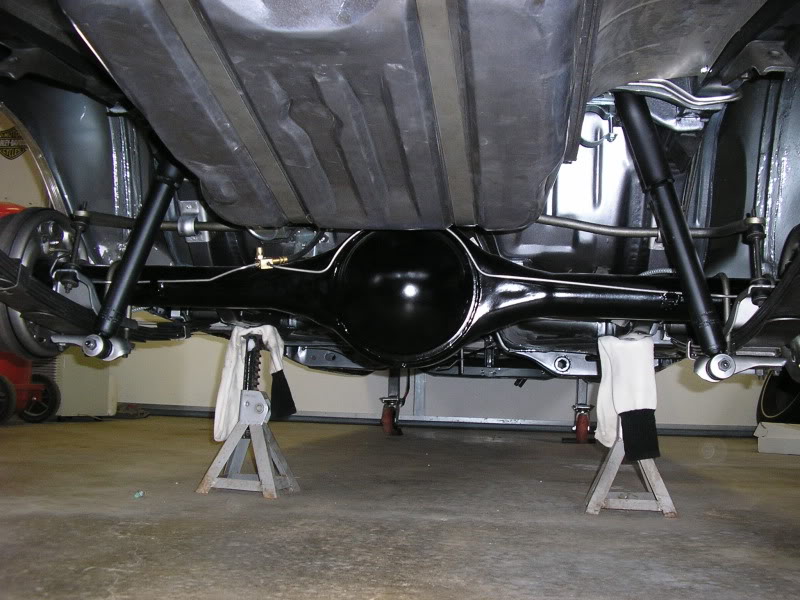
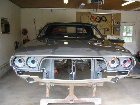
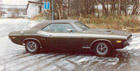
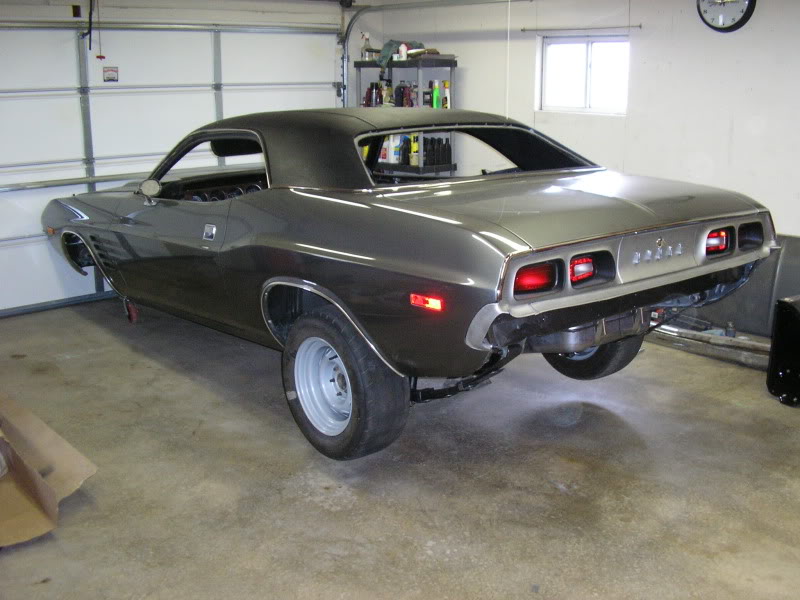
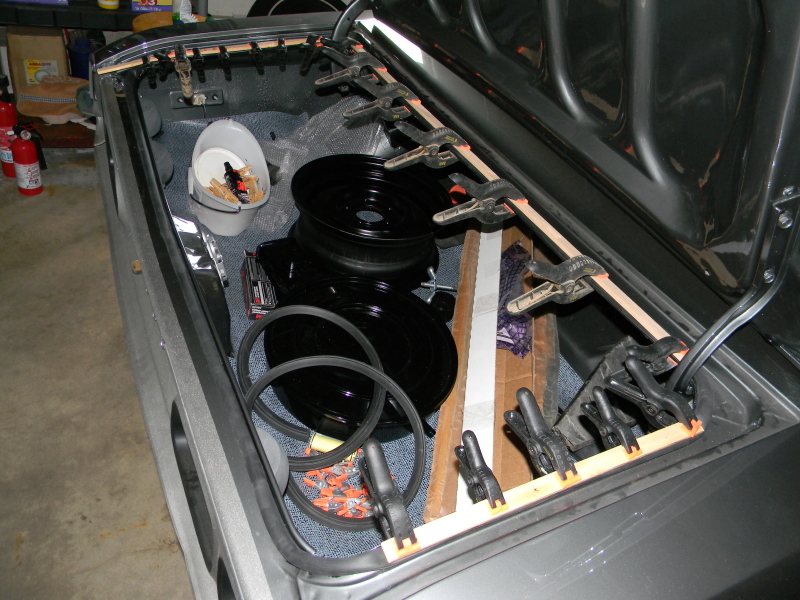
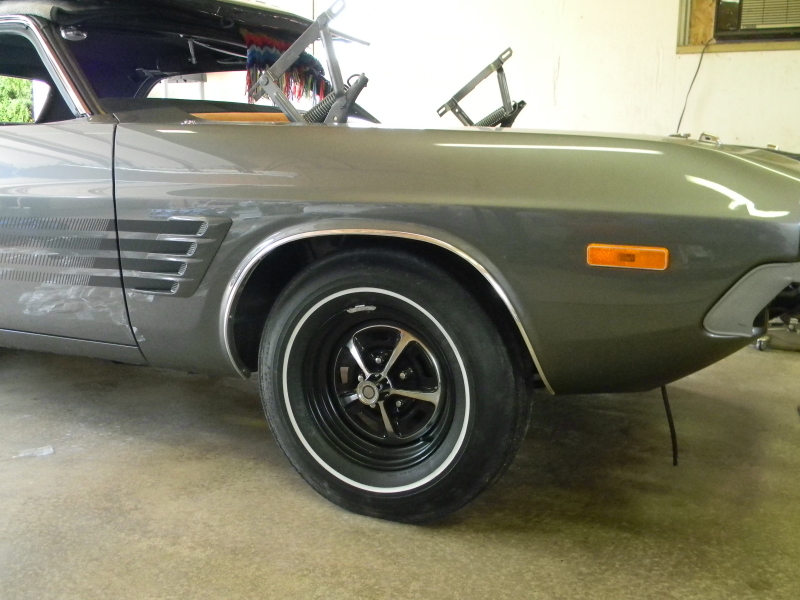
The Rallye wheels went on until the stock Road Wheels are ready.
-
burdar - Frequent Poster
- Posts: 429
- Joined: 24 Mar 2009 17:27
- Location: Iowa
- fal308
- Frequent Poster
- Posts: 981
- Joined: 01 Jan 2004 13:57
- Location: Pacific MO
Re: original owner 73
![]() by burdar » 08 May 2012 13:47
by burdar » 08 May 2012 13:47
-
burdar - Frequent Poster
- Posts: 429
- Joined: 24 Mar 2009 17:27
- Location: Iowa
-

MLMFLCN - Frequent Poster
- Posts: 238
- Joined: 10 Oct 2005 13:24
- Location: Ohio
Re: original owner 73
![]() by burdar » 11 May 2012 16:13
by burdar » 11 May 2012 16:13
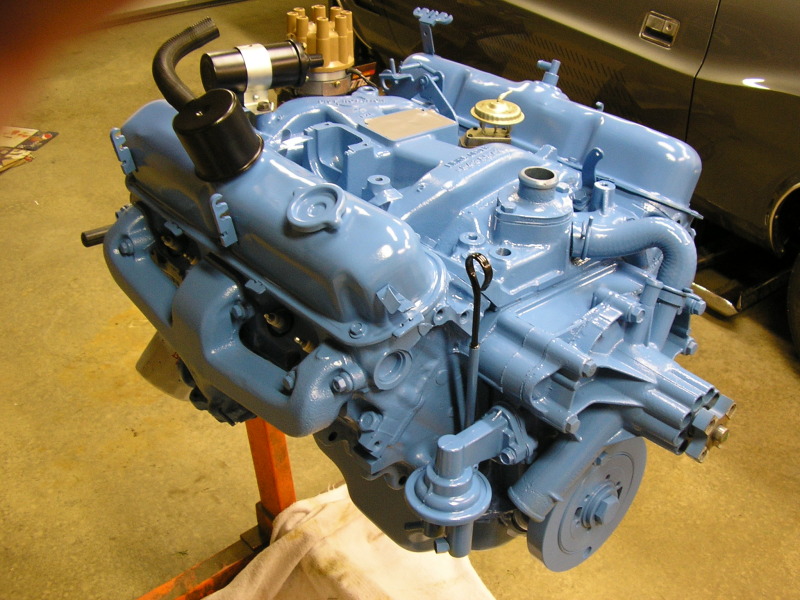
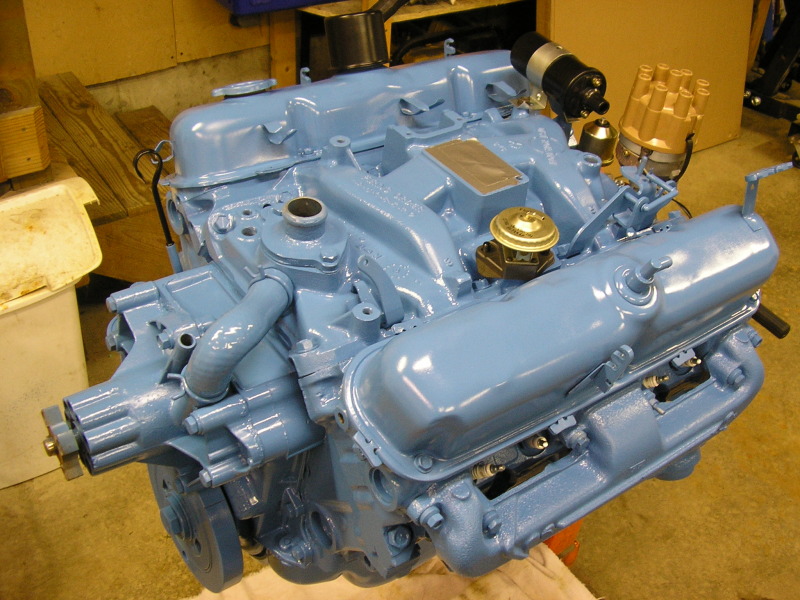
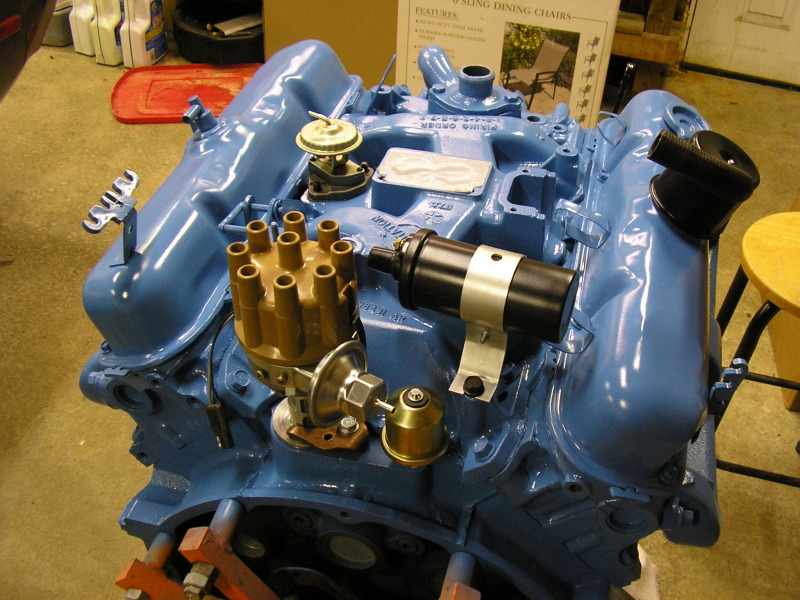
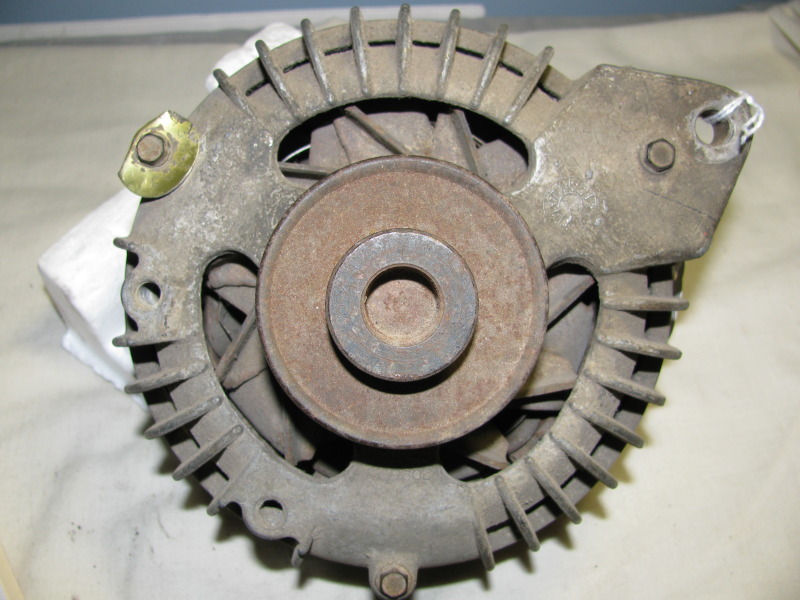
Before...
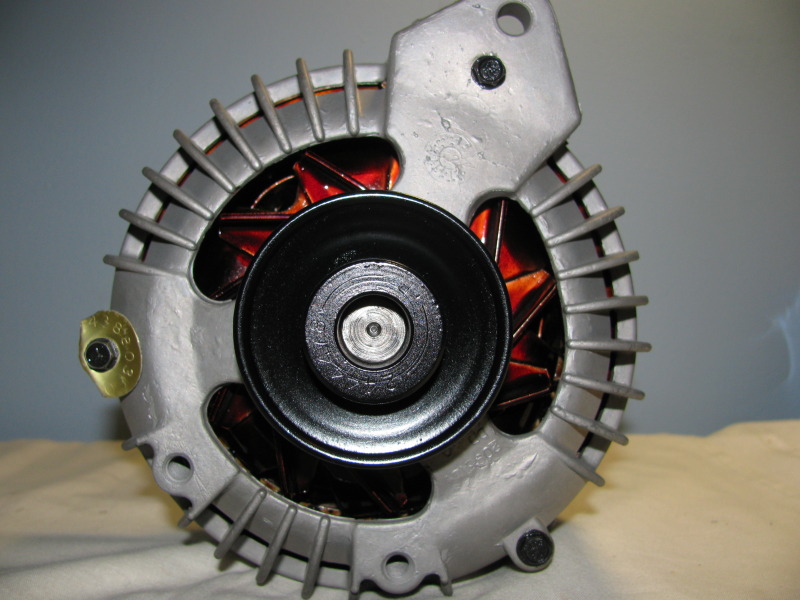
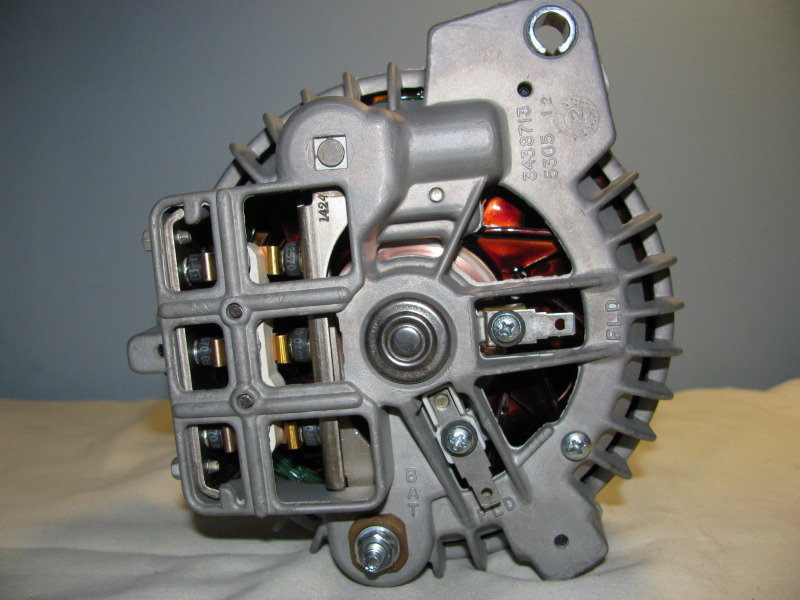
After...

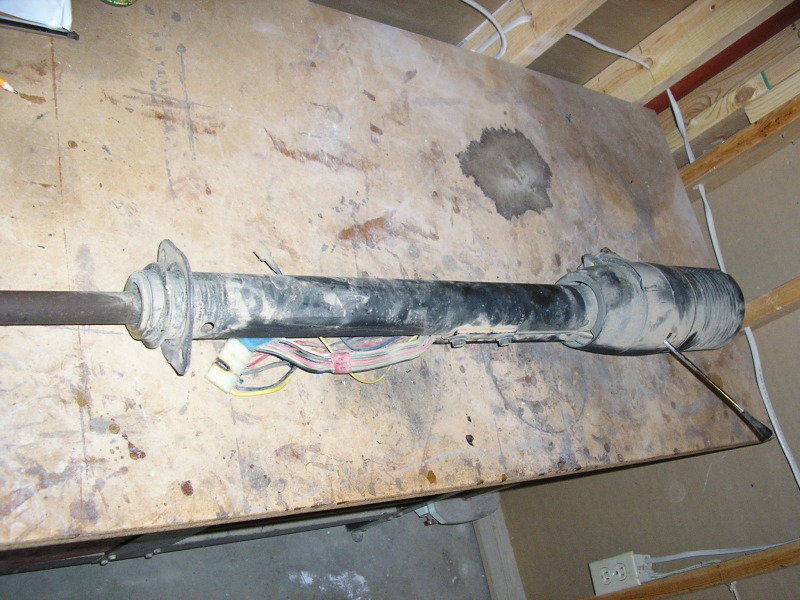
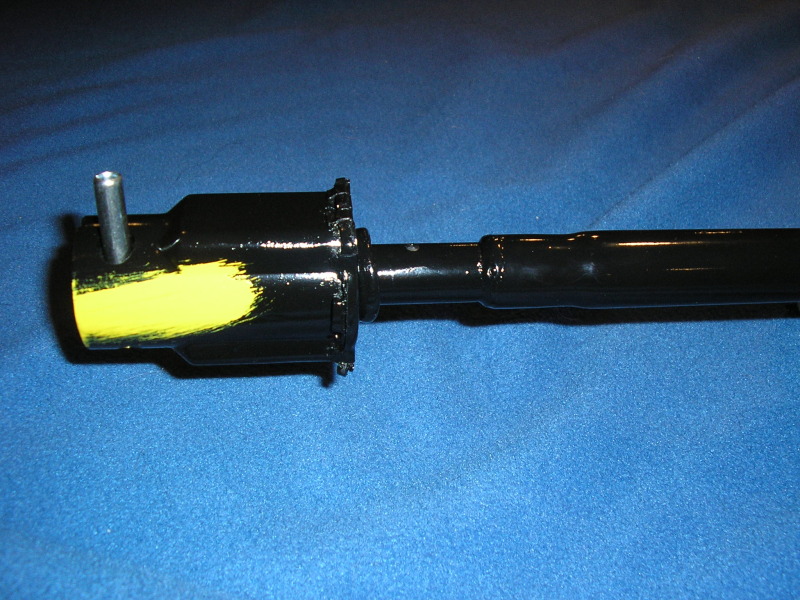
Steering coupler and shaft before...

Steering coupler and shaft after...
-
burdar - Frequent Poster
- Posts: 429
- Joined: 24 Mar 2009 17:27
- Location: Iowa
-

Eddie - Frequent Poster
- Posts: 6212
- Joined: 16 Oct 2006 21:26
- Location: Terre Haute, Ind.
Re: original owner 73
![]() by burdar » 21 May 2012 12:48
by burdar » 21 May 2012 12:48

-
burdar - Frequent Poster
- Posts: 429
- Joined: 24 Mar 2009 17:27
- Location: Iowa
Re: original owner 73
![]() by burdar » 25 May 2012 12:58
by burdar » 25 May 2012 12:58
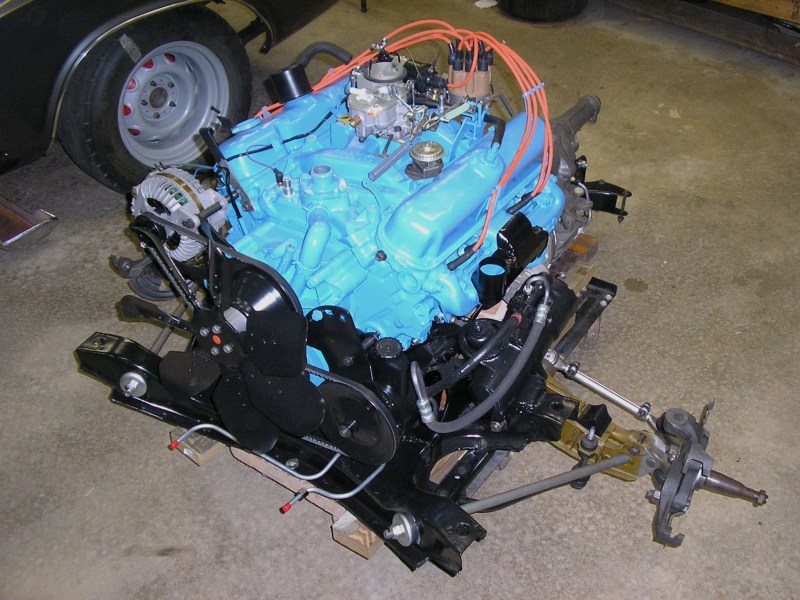
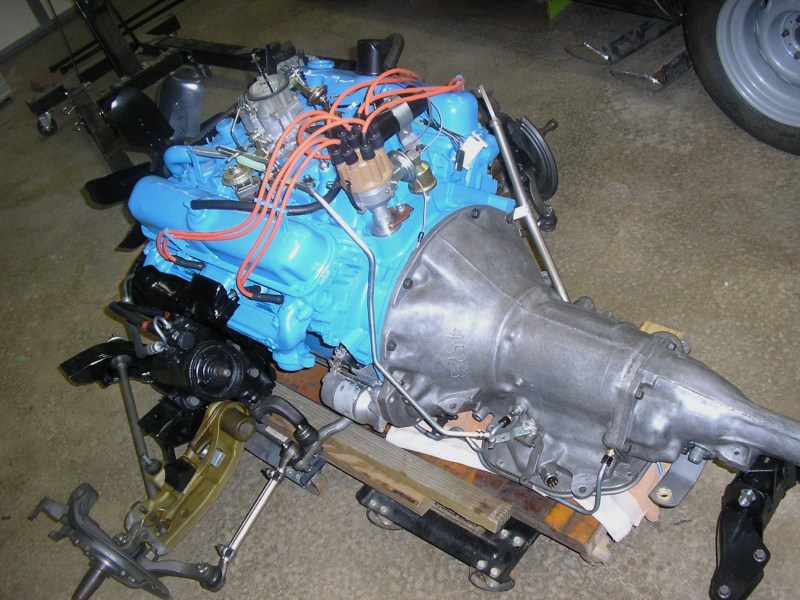
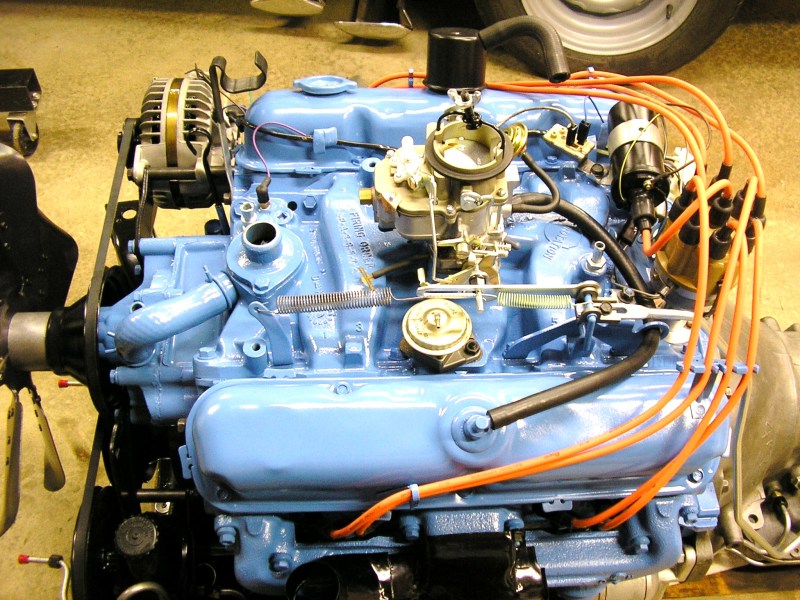
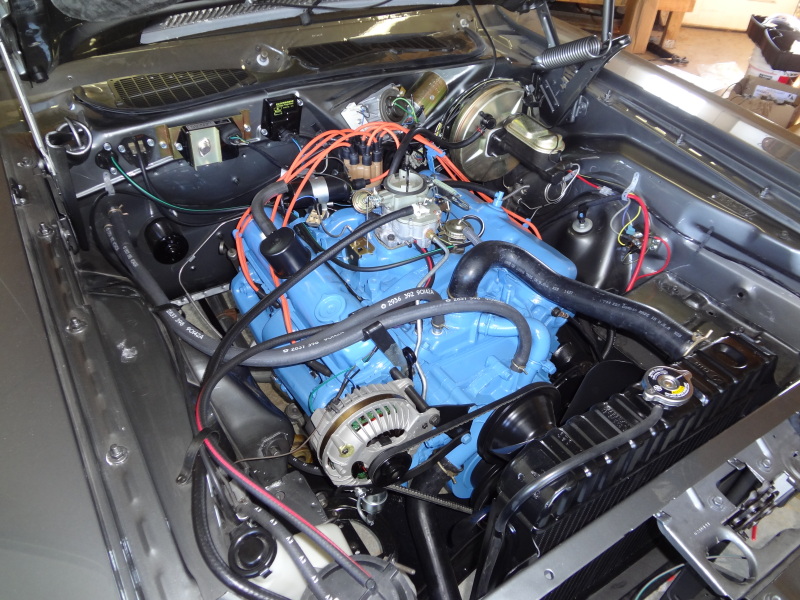
I don't have the original starter restored yet so I have a mini on there for now. I know the belts aren't correct as well as the plug wires. There will be a few things to work on down the road but overall I'm pretty happy with how it looks.
-
burdar - Frequent Poster
- Posts: 429
- Joined: 24 Mar 2009 17:27
- Location: Iowa
Re: original owner 73
![]() by burdar » 29 May 2012 13:15
by burdar » 29 May 2012 13:15


-
burdar - Frequent Poster
- Posts: 429
- Joined: 24 Mar 2009 17:27
- Location: Iowa
Re: original owner 73
![]() by drewcrane » 29 May 2012 13:22
by drewcrane » 29 May 2012 13:22
looks really nice
-
drewcrane - Frequent Poster
- Posts: 2893
- Joined: 01 Sep 2007 12:36
- Location: "follow the laraya belt ,that should get ya there"
Re: original owner 73
![]() by burdar » 29 May 2012 13:32
by burdar » 29 May 2012 13:32
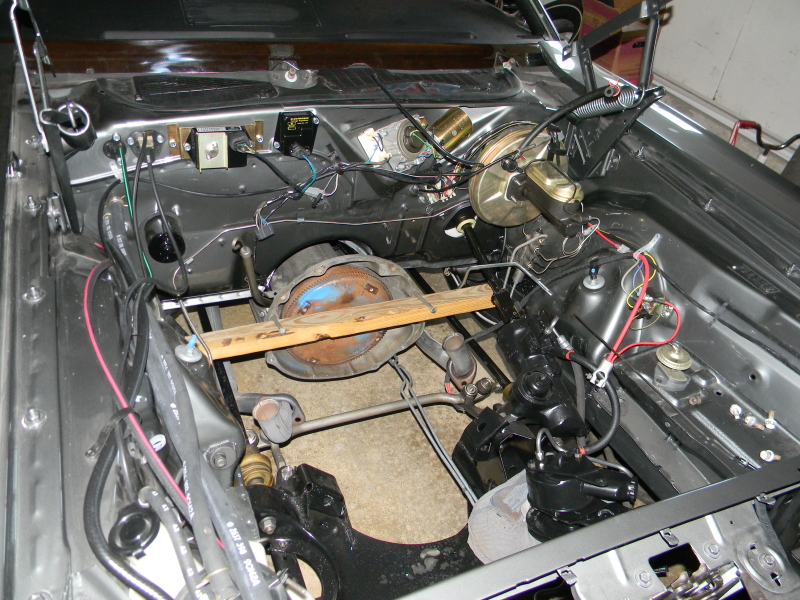
The shifter pivot was guided into the bushing and the trans x-member was hooked up. The K-member basically located itself after that. It went pretty smoothly.
-
burdar - Frequent Poster
- Posts: 429
- Joined: 24 Mar 2009 17:27
- Location: Iowa
Re: original owner 73
![]() by dave-r » 29 May 2012 16:01
by dave-r » 29 May 2012 16:01
With limited room to the sides I decided to push mine in from the front but removed the intake so I didn't have to lift so high.When dropping the car down over the engine I seem to remember the 2" primary headers on my 440 to be slightly wider than the frame rails so had to rock things about a bit to get in in there. I was a "chicken leg short of a picnic" at the time with my brain thing so don't remember it too well but from the photos it looks like I did OK.
viewtopic.php?p=29595#p29595
-

dave-r - Grumpy Old Man
- Posts: 9842
- Joined: 12 Oct 2003 21:45
- Location: North of the Tyne, England
Re: original owner 73
![]() by burdar » 07 Jun 2012 16:03
by burdar » 07 Jun 2012 16:03
I had the radiator recored...I'm picking it up Saturday morning.
-
burdar - Frequent Poster
- Posts: 429
- Joined: 24 Mar 2009 17:27
- Location: Iowa
Re: original owner 73
![]() by burdar » 06 Aug 2012 14:17
by burdar » 06 Aug 2012 14:17
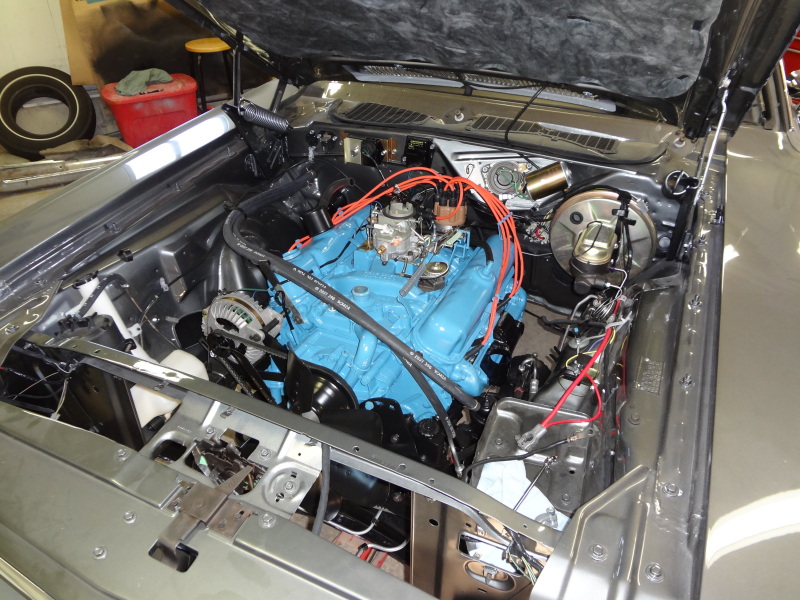
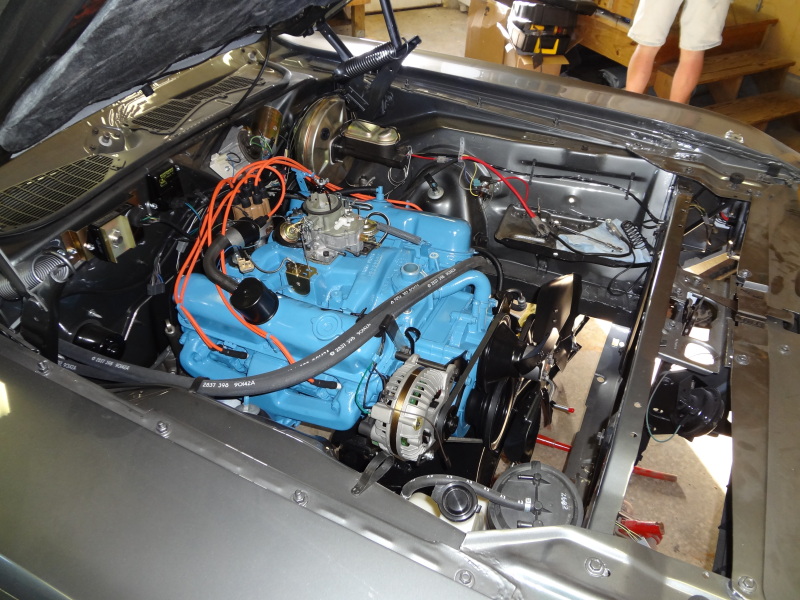
The morning of June 9th I picked up the radiator from being re-cored. I spent most of the afternoon installing it and adding fluids. I also put an initial adjustment on the torsion bars, installed some old wheels and set the front end on the ground for the first time.

Since I didn't have a battery for the car yet, I borrowed the one out of my Durango. I hooked it up and checked to make sure everything worked. I've got a couple bad bulbs to replace but everything else worked like it should. At this point the engine compartment was done and I was ready to start the engine.
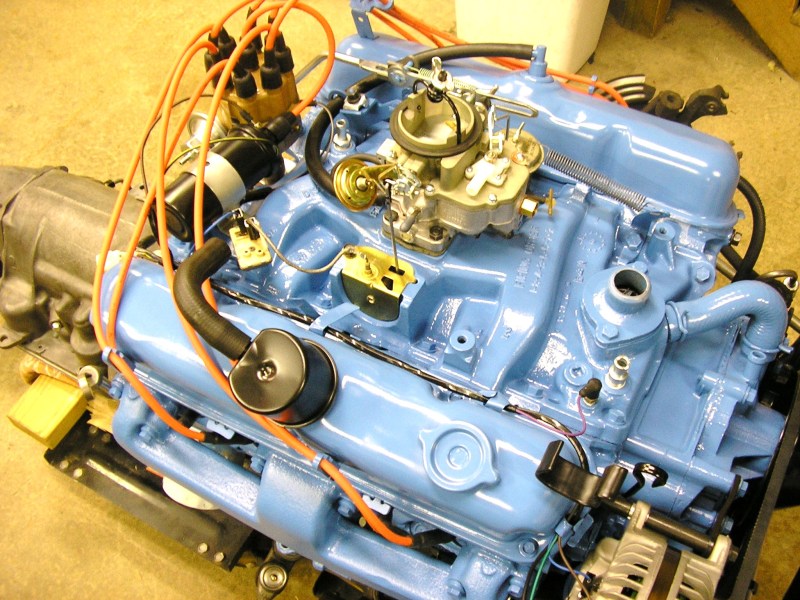
Before I get to that mess, I want to point out the vacuum hoses in the pic below. Someone over on another site posted the vacuum diagram out of the FSM. According to the manual, the hoses were color coded from the factory. I went to a craft store and bought some paint pens. I stretched the hoses out on my work bench and nailed the ends down so they wouldn't move. Using my finger as a guide, I ran the paint pens down the hoses and applied the stripes. I think they look really good. I searched for colored striped hoses and couldn't find anything. One of the larger vent hoses has a red stripe on it...the EGR valve hoses are colored green, white and yellow.
-
burdar - Frequent Poster
- Posts: 429
- Joined: 24 Mar 2009 17:27
- Location: Iowa
Re: original owner 73
![]() by burdar » 06 Aug 2012 14:29
by burdar » 06 Aug 2012 14:29
As soon as the engine fired, I took it up to 2500 RPM. I instantly knew something was wrong. The engine was missing horribly and the entire car was shaking. The oil pressure was very good and I didn't hear anything out of the ordinary from the engine so I went ahead and ran it for 20 minutes. When the 20 minutes was up I let off the gas. The car backfired through the carb and died. I started it up again and the same thing happened.
I called a friend of mine who had a compression tester. He came over the next weekend and we took some readings. Cylinders 3 and 7 had zero compression. Since the engine didn't run right from the very beginning, I didn't think the cam was to blame. At that point I knew the engine was going to have to come back out.
Of coarse this is when the weather turned extremely hot. I spent a little time each night for three days in the garage getting the engine ready to pull. The engine was dropped off at the machine shop towards the end of June. THey were busy and wouldn't be able to look at it for 3 to 4 weeks.
-
burdar - Frequent Poster
- Posts: 429
- Joined: 24 Mar 2009 17:27
- Location: Iowa
Re: original owner 73
![]() by burdar » 06 Aug 2012 14:55
by burdar » 06 Aug 2012 14:55
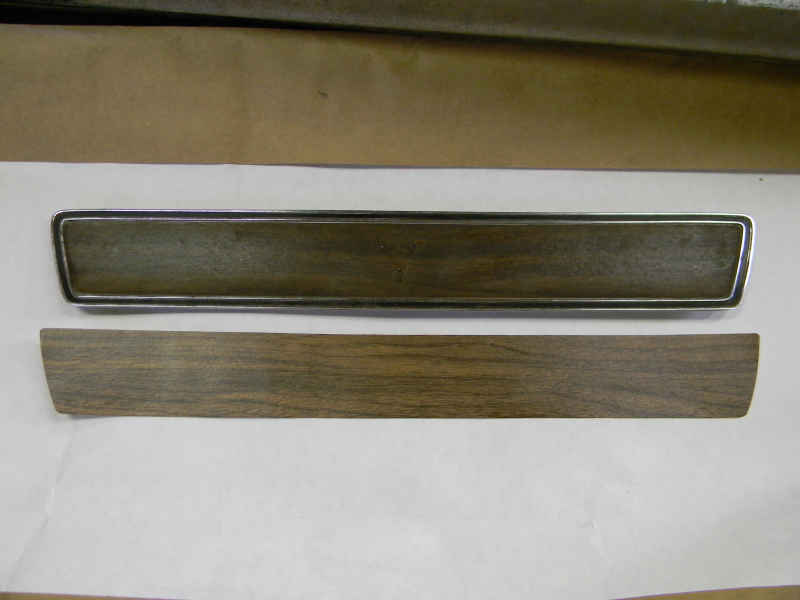
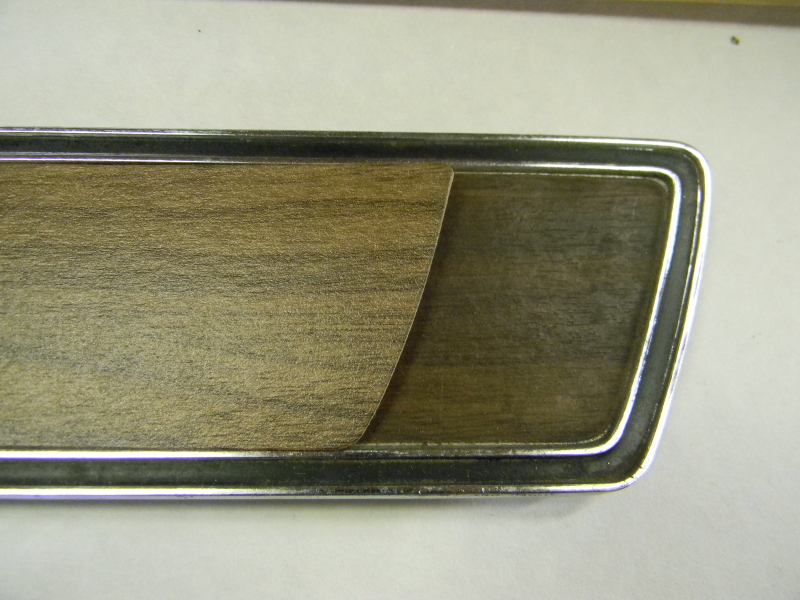
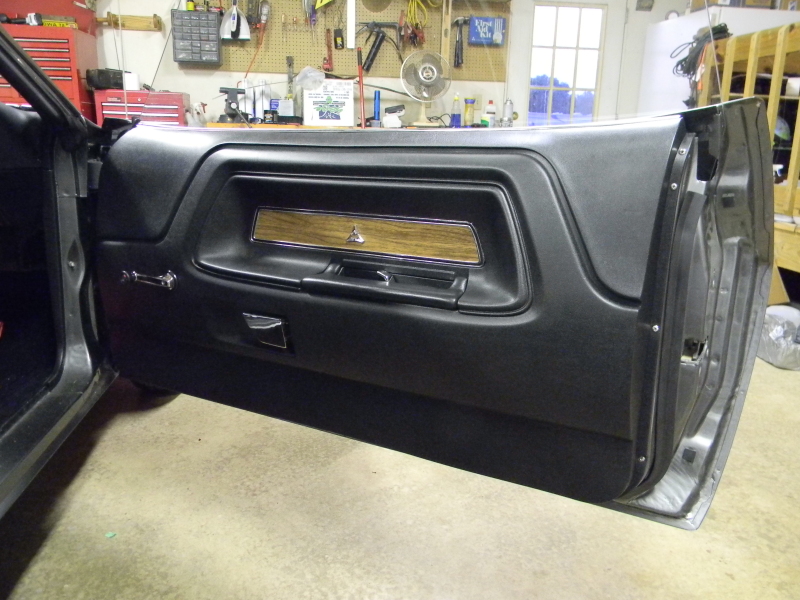
Then I decided to work on the interior panels. I started with the door panel woodgrain inserts. I read where WD-40 would remove the decal so I sprayed one of the inserts with it. Nothing happened. I then tried paint stripper on it. It started to loosen up the woodgrain but it was worthing very slowly. Then I had an idea. I bought my wife one of those handheld steem cleaners awhile back. I plugged that in and let it warm up. That worked perfectly. The decal just pealed right off. The original decals were in OK shape but they were starting to curl at the edges. The replacement decals were a little lighter then the originals but they matched the woodgrain on the dash so I'm happy with it. The black paint around the inserts was in good shape. I didn't have to do anything to one of them. The other side just needed a little touchup.
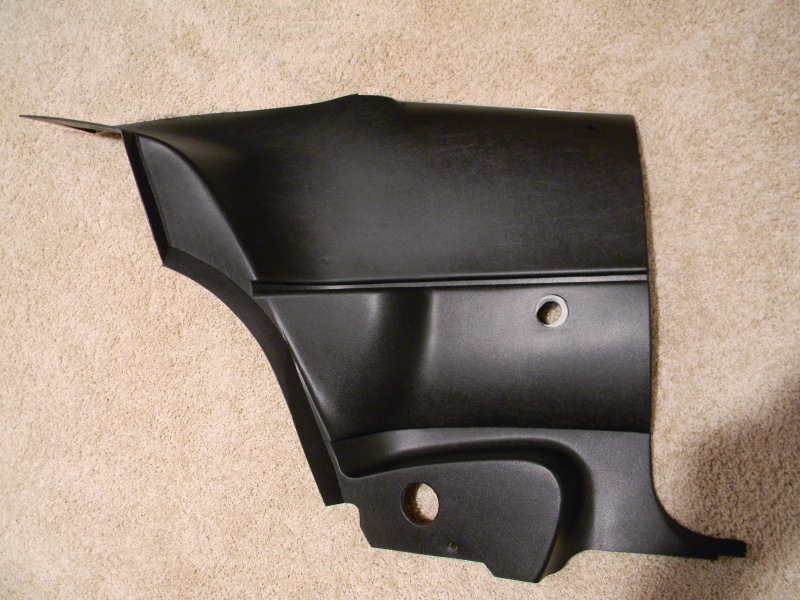
I used the same SEM paints on the door and rear panels as I did the A-pillar and kick panels. They aren't perfect by any means but they look alot better. New panels are definately on the list but these will do for now. The arm rest pads from Legendary are a joke. I'm not sure what brand they are. I had two choises and chose wrong. In the future I'm going to try to save the original ones. These are just a wooden core wrapped in the wrong grained vinyl.

-
burdar - Frequent Poster
- Posts: 429
- Joined: 24 Mar 2009 17:27
- Location: Iowa
Re: original owner 73
![]() by burdar » 06 Aug 2012 15:25
by burdar » 06 Aug 2012 15:25
A couple days after dropping off the original heads, I went in to see what they found with those. Those heads needed all new valves, guides and one valve seat. Right as I was leaving, the manager said,"Oh, by the way, the intake manifold is cracked." He took be back to see the intake and sure enough. There was a big crack starting in the choke thermostat well and extending all the way over to the EGR valve opening. That was the original intake with the correct casting date. Luckily I had a spare intake that checked out good. The new intake is slightly different but it's close.
I picked up the engine last Tuesday.
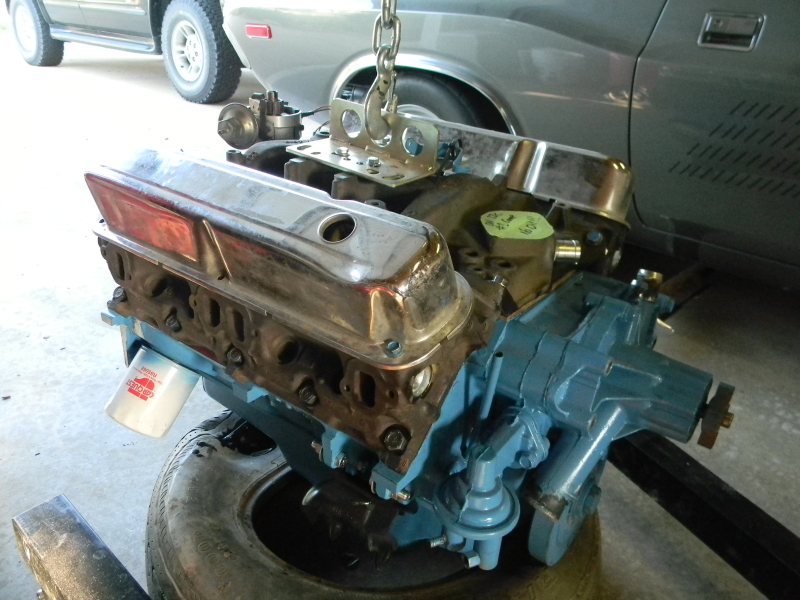
Cleaned and painted it on Wednesday.
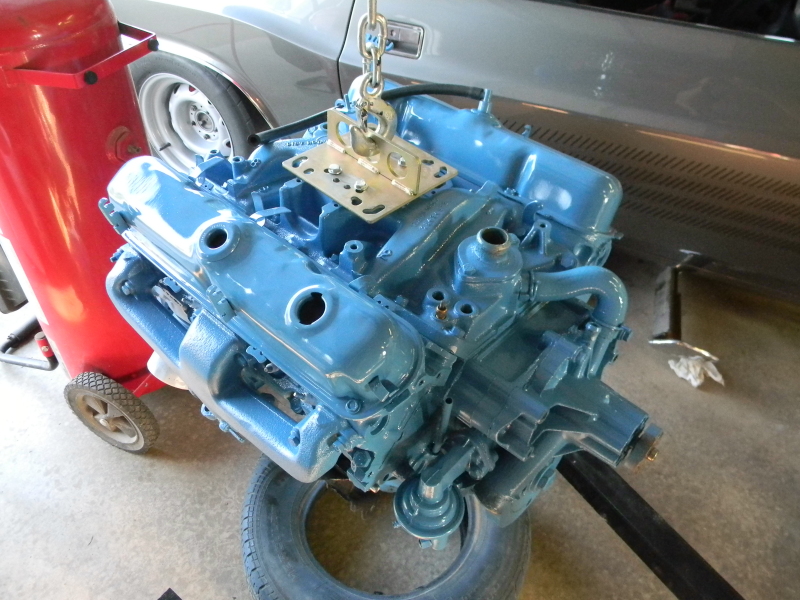
Dropped it back in on Thursday.

I worked on it Friday night and most of the day on Saturday. After everything was put back together, I installed the new repro green top battery and it fired right off. I was tired so I havn't timed it yet but it runs and sound decent. Here's a quick video I took of it running.
http://www.youtube.com/watch?v=tGKhYa6QDfc
-
burdar - Frequent Poster
- Posts: 429
- Joined: 24 Mar 2009 17:27
- Location: Iowa
Re: original owner 73
![]() by drewcrane » 06 Aug 2012 17:59
by drewcrane » 06 Aug 2012 17:59
-
drewcrane - Frequent Poster
- Posts: 2893
- Joined: 01 Sep 2007 12:36
- Location: "follow the laraya belt ,that should get ya there"
Re: original owner 73
![]() by burdar » 20 Aug 2012 15:12
by burdar » 20 Aug 2012 15:12
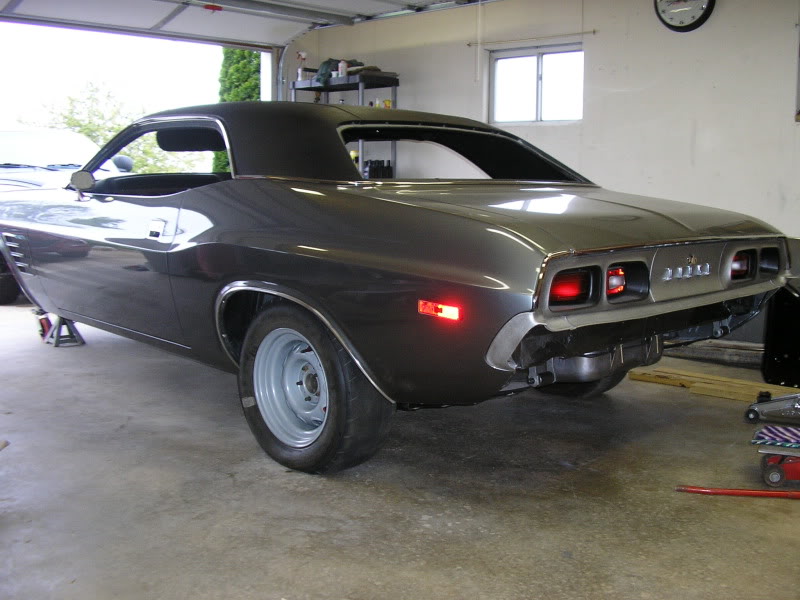
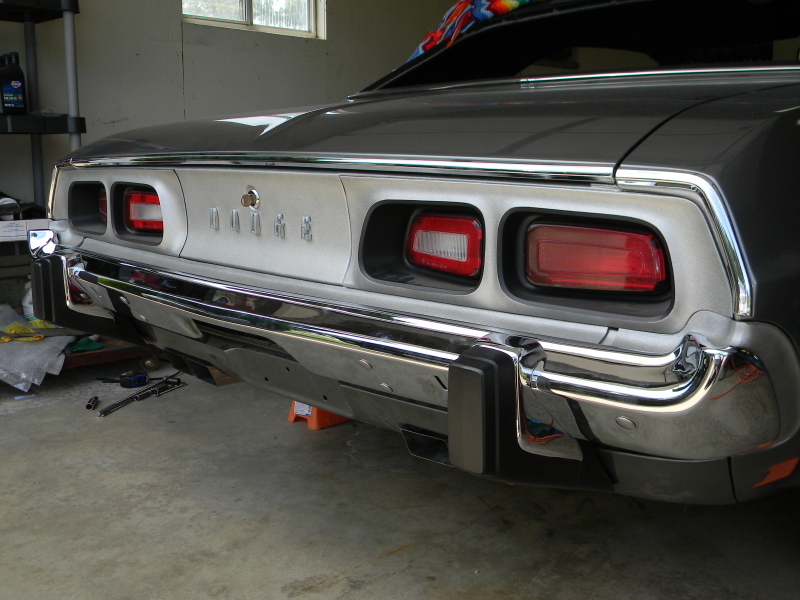
I also installed the rear bumper assembly. A member from Moparts sent me a really nice pair of rubber bumper guards. I still need to figure something out for the fronts. Both pairs of front guards I have are all pitted.
-
burdar - Frequent Poster
- Posts: 429
- Joined: 24 Mar 2009 17:27
- Location: Iowa
Re: original owner 73
![]() by MLMFLCN » 20 Aug 2012 20:41
by MLMFLCN » 20 Aug 2012 20:41
-
MLMFLCN - Frequent Poster
- Posts: 238
- Joined: 10 Oct 2005 13:24
- Location: Ohio
Re: original owner 73
![]() by burdar » 21 Aug 2012 12:40
by burdar » 21 Aug 2012 12:40
-
burdar - Frequent Poster
- Posts: 429
- Joined: 24 Mar 2009 17:27
- Location: Iowa
Re: original owner 73
![]() by burdar » 20 Sep 2012 14:33
by burdar » 20 Sep 2012 14:33
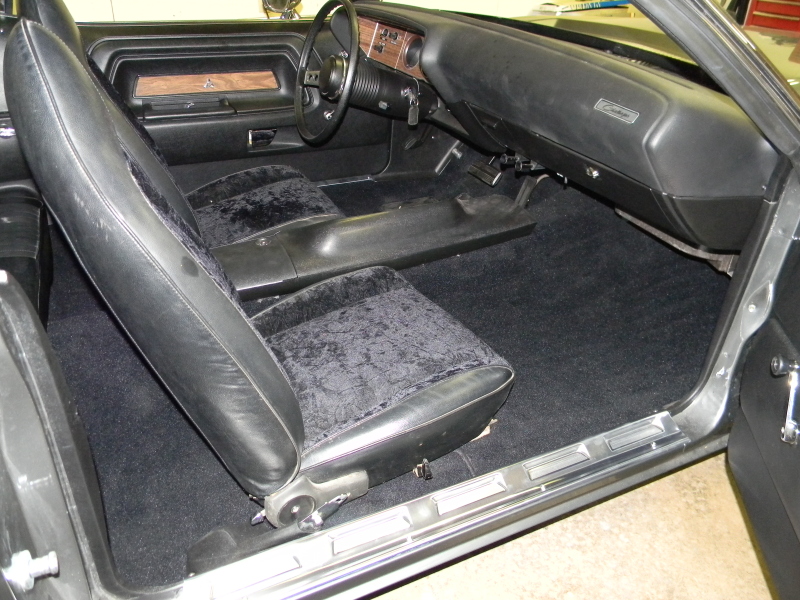
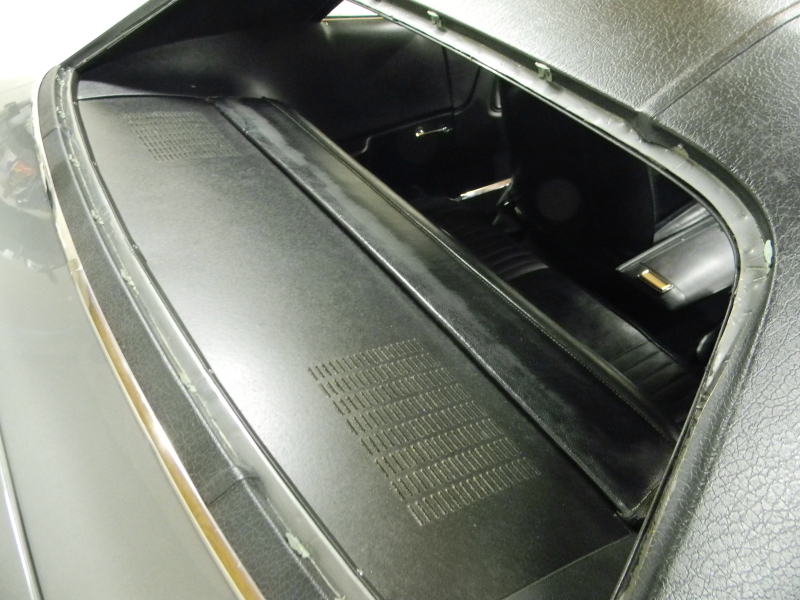
Check out the crushed velvet dad had installed when the original vinyl tore. This a accually the only seat covering I remember the car having. It will be replaced with Legendary seat covers this winter.

-
burdar - Frequent Poster
- Posts: 429
- Joined: 24 Mar 2009 17:27
- Location: Iowa
Re: original owner 73
![]() by Adrian Worman » 20 Sep 2012 14:57
by Adrian Worman » 20 Sep 2012 14:57
-

Adrian Worman - Frequent Poster
- Posts: 2051
- Joined: 10 Mar 2007 23:54
- Location: milton keynes
Re: original owner 73
![]() by dave-r » 20 Sep 2012 15:58
by dave-r » 20 Sep 2012 15:58
-
dave-r - Grumpy Old Man
- Posts: 9842
- Joined: 12 Oct 2003 21:45
- Location: North of the Tyne, England
Re: original owner 73
![]() by burdar » 24 Sep 2012 17:17
by burdar » 24 Sep 2012 17:17
-
burdar - Frequent Poster
- Posts: 429
- Joined: 24 Mar 2009 17:27
- Location: Iowa
Re: original owner 73
![]() by Adrian Worman » 24 Sep 2012 20:32
by Adrian Worman » 24 Sep 2012 20:32
...... and did you bore ya family shitless by telling them repeatedly how brilliant your car is
-
Adrian Worman - Frequent Poster
- Posts: 2051
- Joined: 10 Mar 2007 23:54
- Location: milton keynes