136 posts
• Page 3 of 5 • 1, 2, 3, 4, 5
-

Hezzel - Frequent Poster
- Posts: 125
- Joined: 22 Oct 2007 13:05
- Location: Sweden, Kiruna
-

Hezzel - Frequent Poster
- Posts: 125
- Joined: 22 Oct 2007 13:05
- Location: Sweden, Kiruna
- christer
- Ghost 48
- Posts: 2133
- Joined: 13 Oct 2006 19:52
- Location: Sweden
-

Hezzel - Frequent Poster
- Posts: 125
- Joined: 22 Oct 2007 13:05
- Location: Sweden, Kiruna
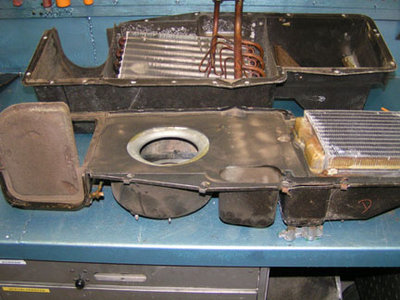
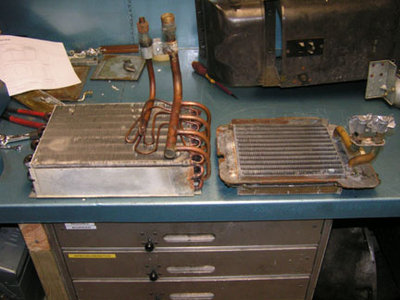
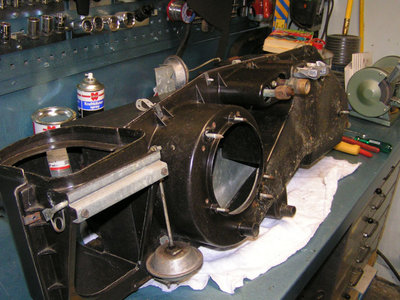
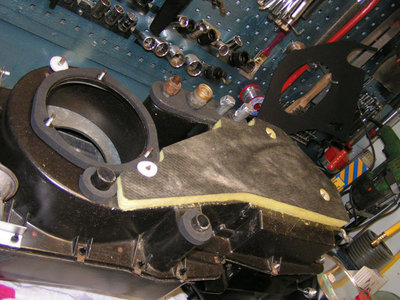
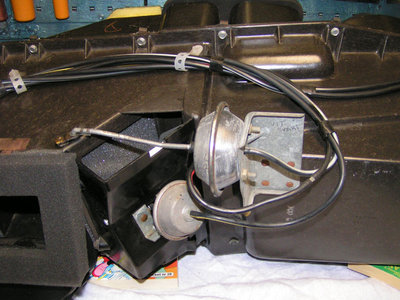
Your heater box looks to be in real good shape. Look at what I went thru with mine......http://www.papadaveonline.com/images/Albums/24/ There a 20 pics to view.............
-

DAYLEY/CHALLENGER - Frequent Poster
- Posts: 229
- Joined: 14 Dec 2006 17:32
- Location: Rockingham, Nc ,USA
-

Hezzel - Frequent Poster
- Posts: 125
- Joined: 22 Oct 2007 13:05
- Location: Sweden, Kiruna
-

Jimiboy - Frequent Poster
- Posts: 708
- Joined: 22 Dec 2005 10:20
- Location: Sweden
-

Hezzel - Frequent Poster
- Posts: 125
- Joined: 22 Oct 2007 13:05
- Location: Sweden, Kiruna
-

Eddie - Frequent Poster
- Posts: 6212
- Joined: 16 Oct 2006 21:26
- Location: Terre Haute, Ind.
-

dave-r - Grumpy Old Man
- Posts: 9842
- Joined: 12 Oct 2003 21:45
- Location: North of the Tyne, England
Wow, nice original car!-- the trunk floor looks like new- they usually rust out there. I am doing a 71 RT clone, so thanks for the nice big picture, i have copied them into my photo file. Some questions: is that a rim-blow horn-? nice woodgrain steering wheel anyway. Does it have electric windows? I see you have a rear demister (defog), is it a two speed motor? as i have just bought one from ebay but do not have the switch.
All your instruments and woodgrain fascia are beautiful and clear and bright, does the clock still work? if so does it keep good time (mine is very fast, by one minute per hour!)
What other nice options does it have?
All your instruments and woodgrain fascia are beautiful and clear and bright, does the clock still work? if so does it keep good time (mine is very fast, by one minute per hour!)
What other nice options does it have?
-

Goldenblack440 - Frequent Poster
- Posts: 600
- Joined: 08 Jul 2007 18:57
Hi Goldenblack , It´s the standard R/T steering wheel , no electric windows, and it´s a two speed defog motor.
The clock does´nt work but i have an extra clock that i bought several years ago . I will probably repair one of them when i´m closer to the goal line .
.
You can download the options list on page 2 on this thread.
And god luck with your cloning
The clock does´nt work but i have an extra clock that i bought several years ago . I will probably repair one of them when i´m closer to the goal line
You can download the options list on page 2 on this thread.
And god luck with your cloning
-

Hezzel - Frequent Poster
- Posts: 125
- Joined: 22 Oct 2007 13:05
- Location: Sweden, Kiruna
Looks like it's moving along. 
What's that white stuff on the ground? Sanding dust? It's going to be time to take it indoors soon.
BTW: we just finished the last week of summer heat with 98+ all of last week. Looking forward to the cooler weather here.

What's that white stuff on the ground? Sanding dust?
BTW: we just finished the last week of summer heat with 98+ all of last week.
 Looking forward to the cooler weather here.
-

Jon - Frequent Poster
- Posts: 1229
- Joined: 21 Aug 2005 15:12
- Location: Medford Oregon
-

Hezzel - Frequent Poster
- Posts: 125
- Joined: 22 Oct 2007 13:05
- Location: Sweden, Kiruna
-

Hezzel - Frequent Poster
- Posts: 125
- Joined: 22 Oct 2007 13:05
- Location: Sweden, Kiruna
-

dave-r - Grumpy Old Man
- Posts: 9842
- Joined: 12 Oct 2003 21:45
- Location: North of the Tyne, England
-

Hezzel - Frequent Poster
- Posts: 125
- Joined: 22 Oct 2007 13:05
- Location: Sweden, Kiruna
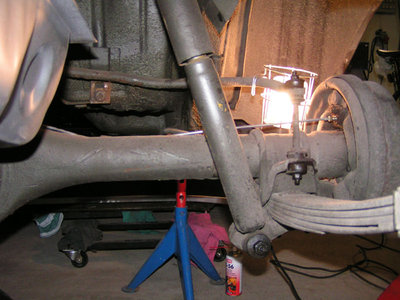
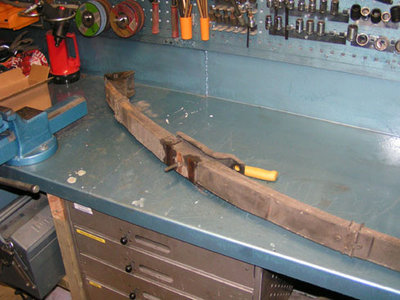
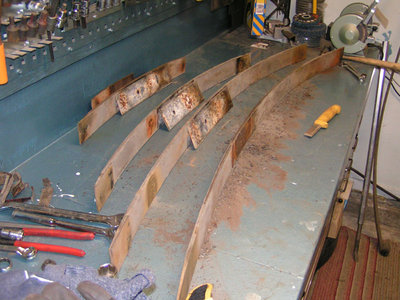
Jon wrote:Looks like a pretty solid base to work from with an undercoated body to boot.Are you blasting and painting each leaf?
Just had a thought, how's the ride height? Any adjustments needed prior to putting it all together?
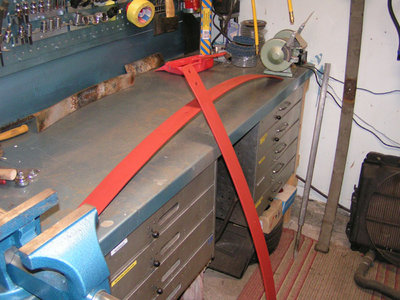
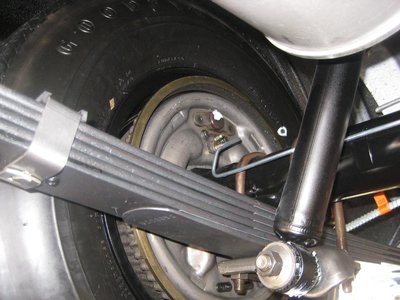
I'm grinding and painting each leaf
Was thinking of doing this first and later buy new leaf springs cause it has bit low height. Engine and Paint on the car comes first.
By the way what color should i use on the Leafs ? Grey , black or??? Any suggestions?
-

Hezzel - Frequent Poster
- Posts: 125
- Joined: 22 Oct 2007 13:05
- Location: Sweden, Kiruna
sorry, i'm in a silly mood... not sure what factory colour was but i feel that simple gloss black looks great on all undercarriage. I wouldn't use an epoxy based one pack enamel or POR15, which is a ceramic fortified paint on the leaves because i think these paints are too hard and with the constant flexing, the paint might crack after a while. Maybe a good acrylic. The gloss tends to dull off a little anyway being exposed to everything under there.
Having said that though, i painted my leaves in a tough outdoor satin black (semi-gloss) acrylic. It is a tough flexible paint that is used on gutters and fascias of houses and for a touch-up paint on powder coated fencing.
Having said that though, i painted my leaves in a tough outdoor satin black (semi-gloss) acrylic. It is a tough flexible paint that is used on gutters and fascias of houses and for a touch-up paint on powder coated fencing.
-

Goldenblack440 - Frequent Poster
- Posts: 600
- Joined: 08 Jul 2007 18:57
Hezzel wrote:By the way what color should i use on the Leafs ? Grey , black or??? Any suggestions?
From http://www.moparaction.com/Article/PoP/PoP.html
-

dave-r - Grumpy Old Man
- Posts: 9842
- Joined: 12 Oct 2003 21:45
- Location: North of the Tyne, England
136 posts
• Page 3 of 5 • 1, 2, 3, 4, 5

.gif)
