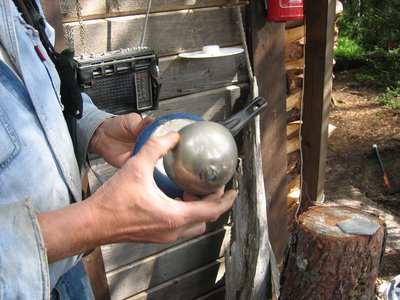
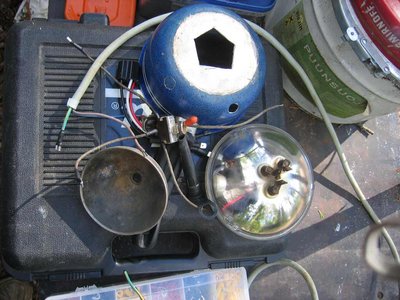
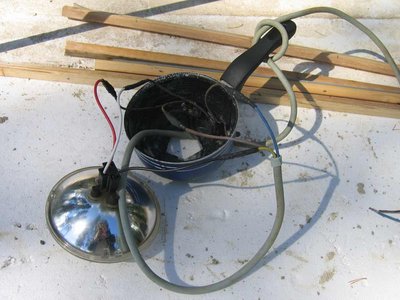
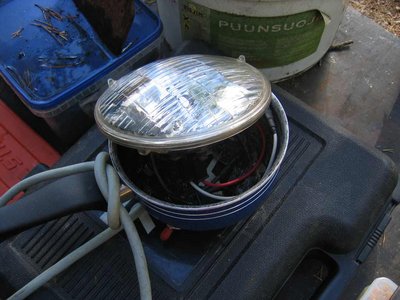
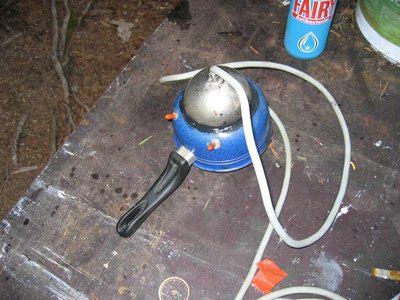
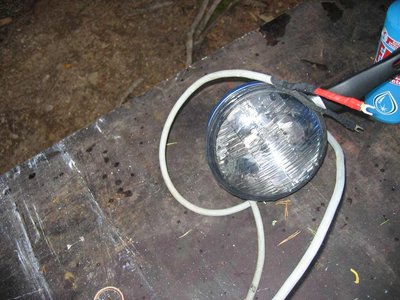
After doing headlight modification required due local regulations to my brothers rustbucket Challenger I had used but working HI/LO sealed beam.
Parts list:
- aluminium pan (coating was damaged so it was trash anyway)
- couple on/off switches from broken coffee maker
- some rubber coated electric cable. probably from old washing machine
- chrome thingy that normally goes to ceiling from propane light
- spare H4-socket
- used sealed beam light
- heat shrink tube, connectors, electric tape etc.
- sikaflex 11fc tube to glue everything together
It's been tested and works fine. You can choose either lo, hi or both with switches. It's not exactly serviceable tho..
4 posts
• Page 1 of 1
-

jr - The Wise One
- Posts: 417
- Joined: 09 Oct 2003 19:43
- Location: Finland
-

dave-r - Grumpy Old Man
- Posts: 9842
- Joined: 12 Oct 2003 21:45
- Location: North of the Tyne, England
Err... Because we had otherwise useless parts and didn't have better things to do? Besides this thing was free compared to buying lamp for many euros. 
It's not necessary during summertime, but it gets dark on winter. That place where photos were taken doesn't have AC power, only 12V DC batteries that are charged with solar panel and small diesel generator. It's our holiday place.
It's not necessary during summertime, but it gets dark on winter. That place where photos were taken doesn't have AC power, only 12V DC batteries that are charged with solar panel and small diesel generator. It's our holiday place.
-

jr - The Wise One
- Posts: 417
- Joined: 09 Oct 2003 19:43
- Location: Finland
-

dave-r - Grumpy Old Man
- Posts: 9842
- Joined: 12 Oct 2003 21:45
- Location: North of the Tyne, England
4 posts
• Page 1 of 1
