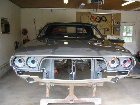
Goldenblack440 wrote:sorry, i'm in a silly mood... not sure what factory colour was but i feel that simple gloss black looks great on all undercarriage. I wouldn't use an epoxy based one pack enamel or POR15, which is a ceramic fortified paint on the leaves because i think these paints are too hard and with the constant flexing, the paint might crack after a while. Maybe a good acrylic. The gloss tends to dull off a little anyway being exposed to everything under there.
Having said that though, i painted my leaves in a tough outdoor satin black (semi-gloss) acrylic. It is a tough flexible paint that is used on gutters and fascias of houses and for a touch-up paint on powder coated fencing.
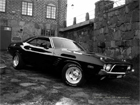
I painted mine black too.

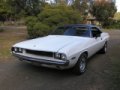
 I'll think i go black
  Viewed 3123 times")
 Viewed 3123 times")

 Viewed 3123 times")
 Viewed 3123 times")
 Viewed 3123 times")