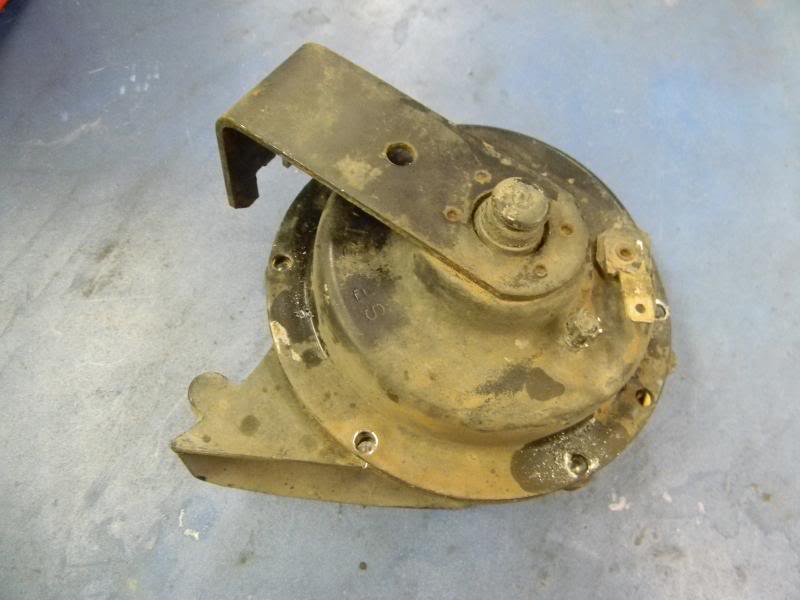
First, drill the heads off of all six rivets and separate the horn.
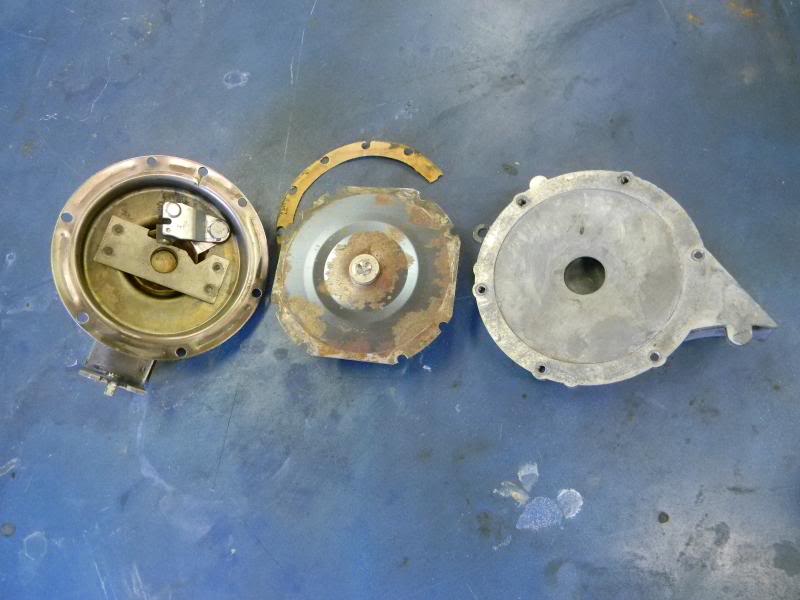
There are three main pieces to the horn assembly. The piece on the left is where the power wire attaches and where the electrical contact are located. The center diaphragm is in the middle and finally the cone is on the right.
The problem area is the electrical contacts. They get corroded and need to be cleaned off. I folded a piece of sand paper in half. I opened the contacts with a screw driver and inserted the sand paper. With the contacts closed, all you have to do is pull out the sand paper to clean them. I did this about three times just to make sure they were clean.
I used an old non corrugated box to make two new gaskets. There is a gasket on either side of the center diaphragm. Since the diaphragm on this horn only had a slight amount of surface rust, I just left it as is. If yours is worse, DO NOT blast it. It is spring steel and you will ruin it.
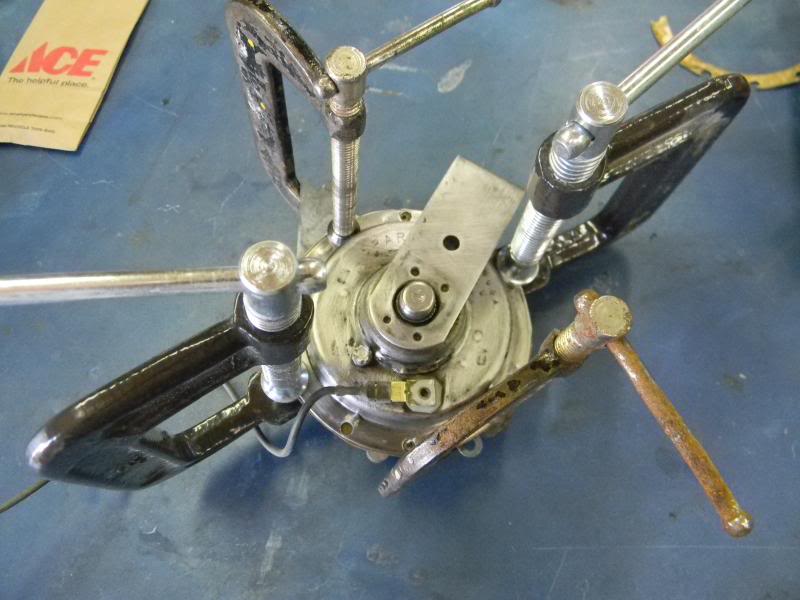
Next, I drilled out the six rivets in the cone and tapped them for 8-32 allen head screws. Then I assembled the horn and used some C-clamps to hold it together in order to test.
Once the horn tests OK, you can screw the assembly back together. I used short allen head screws for mine. The engine will use some allen head fasteners so I'm leaving it this way. For a stock look, you can use longer screws and cut the ends off flush with the original rivets...then sand on the head to remove the recessed portion.
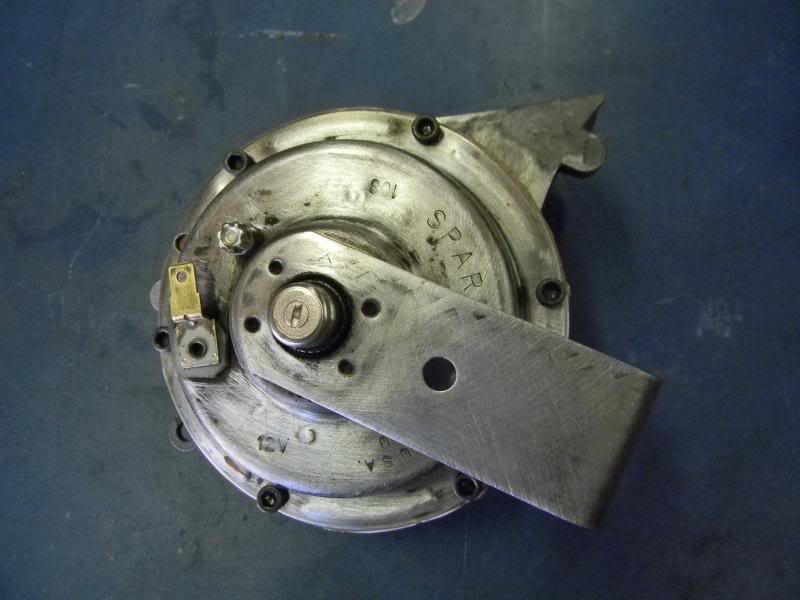
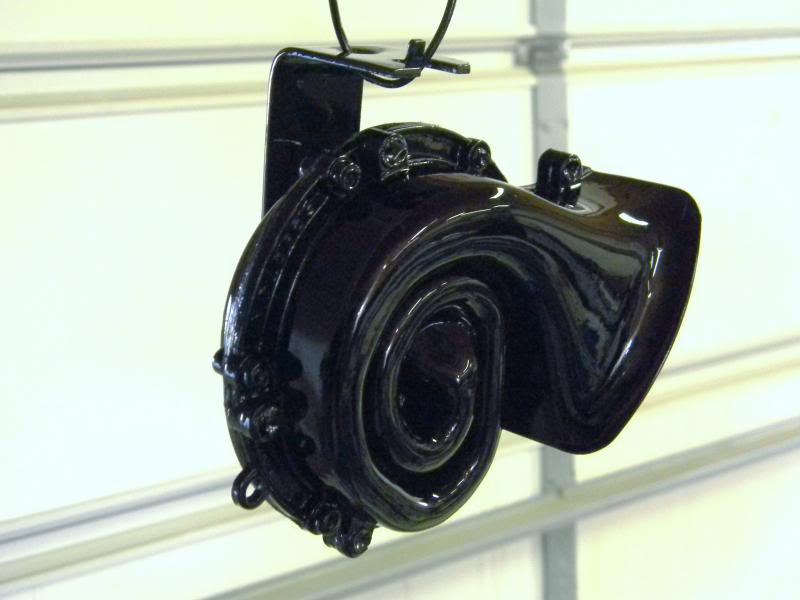
Finally, all it needs is a good painting.

